
Excuse the random pink text throughout. Couldn't seem to figure out how to change it.
Step One (1): Decide what you want your stained glass piece to be of. I googled a few ideas (flowers, horses and birds) and decided to do mine of horses.
Step Two (2): Gather your supplies.
Excuse the random pink text throughout. Couldn't seem to figure out how to change it.
You will need: -hot glue gun
-hot glue-acrylic paint (black and white are necessary)
-fine point permanent marker
-glass panel (I got mine out of a dollar tree picture frame)
-paint brushes (big and small)
-paper plate (or just somewhere you can mix paint)
optional:
-ruler
-flat thumbtack
-craft blade
Step Three (3): Draw your chosen design.
 |
I traced my design after I drew it on
a white sheet of paper.
|
Step Four (4): Apply hot glue to your outline. (Don’t try to correct mistakes with your finger! It’s very hot!)
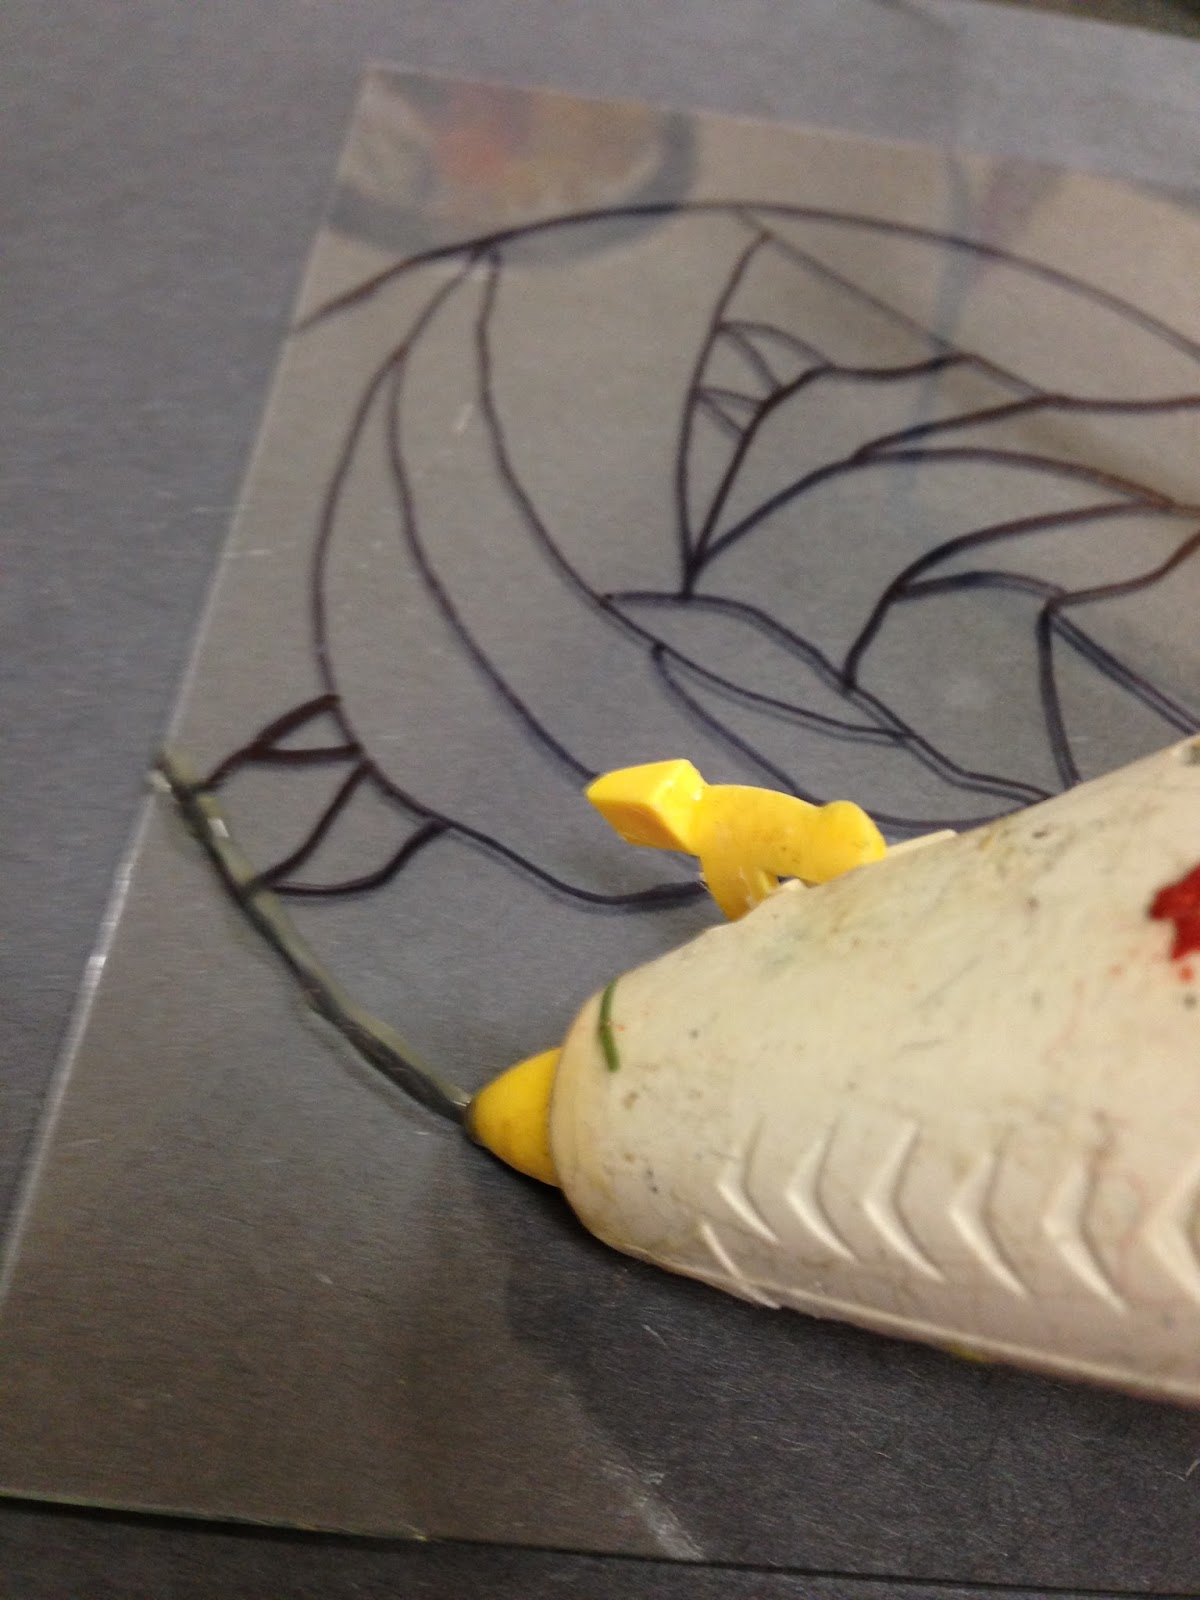 |
Try to keep your lines smooth, but not flat.
In order to give it the appearance of
stained glass, the glue needs to be raised.
|
Step Five (5): Once dry remove hot glue “cob webs.”
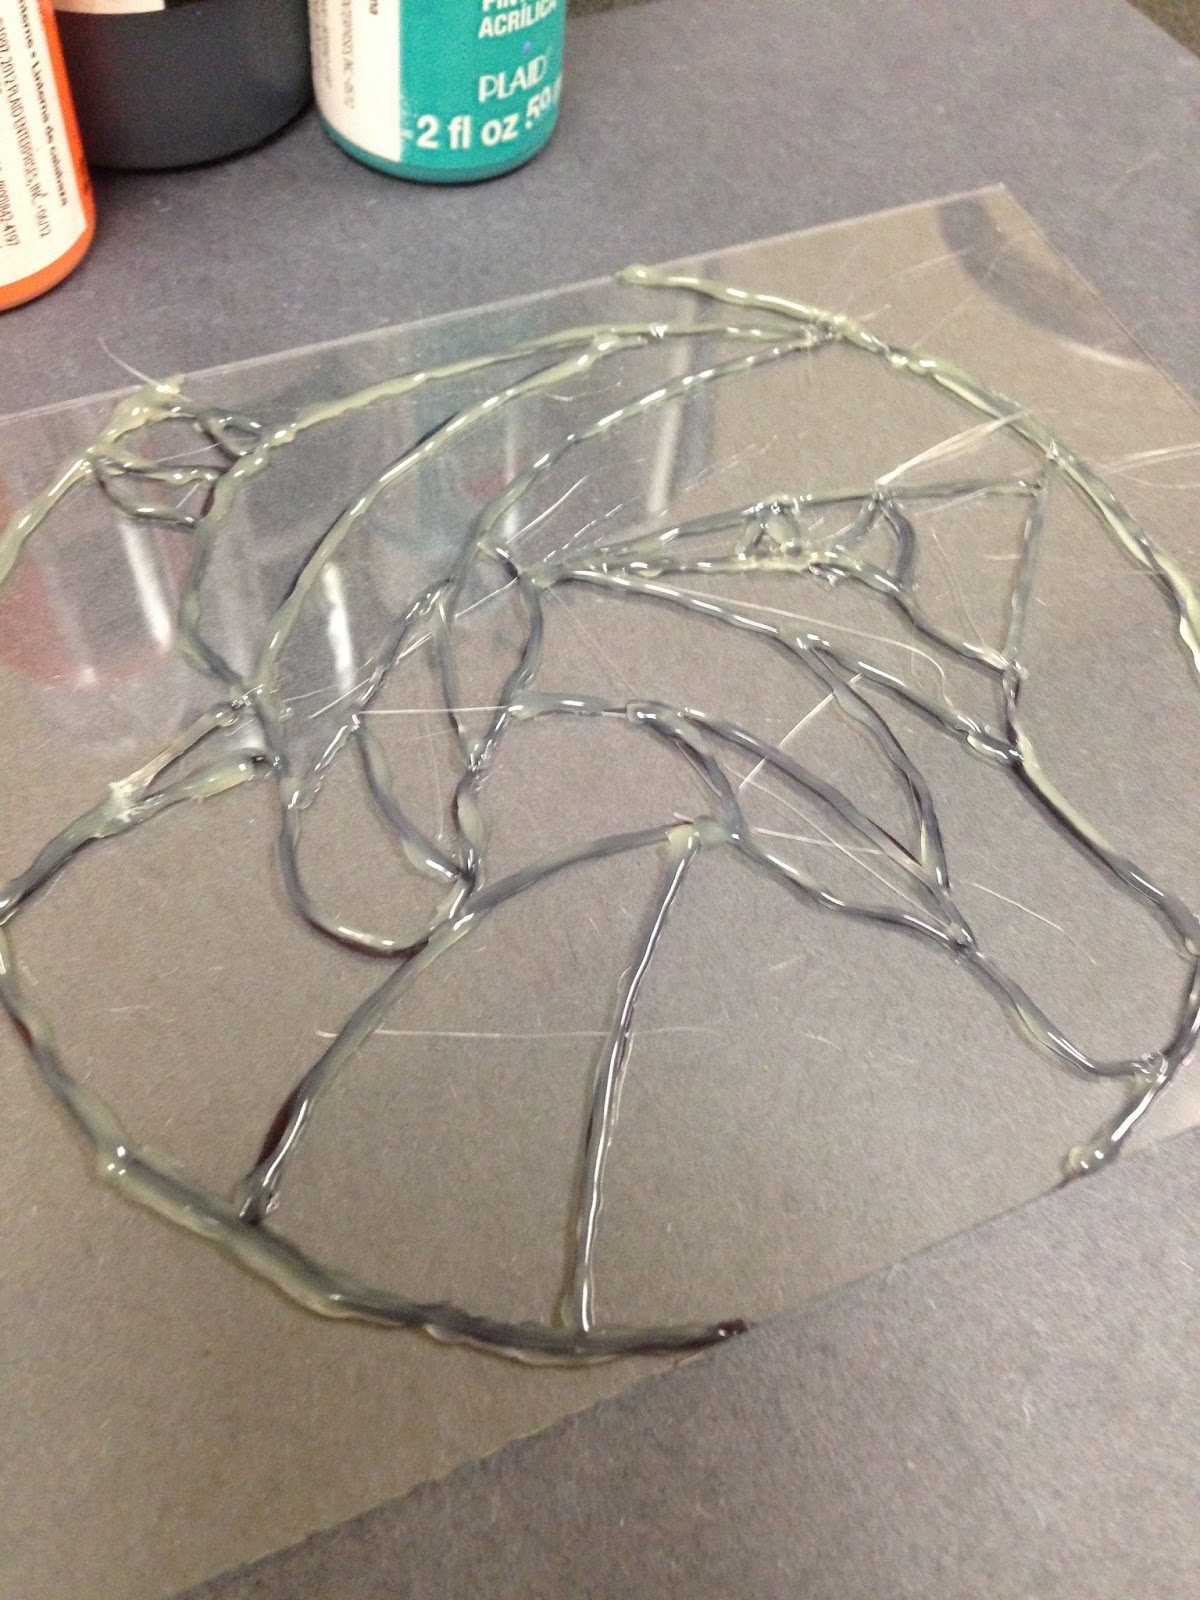 |
| Remove the webbing by rubbing your finger tips on the glass downward until they break. Don’t press them too hard or they will stick to the glass and cause smudges. |
Step Six (6): Paint the pieces of your image.
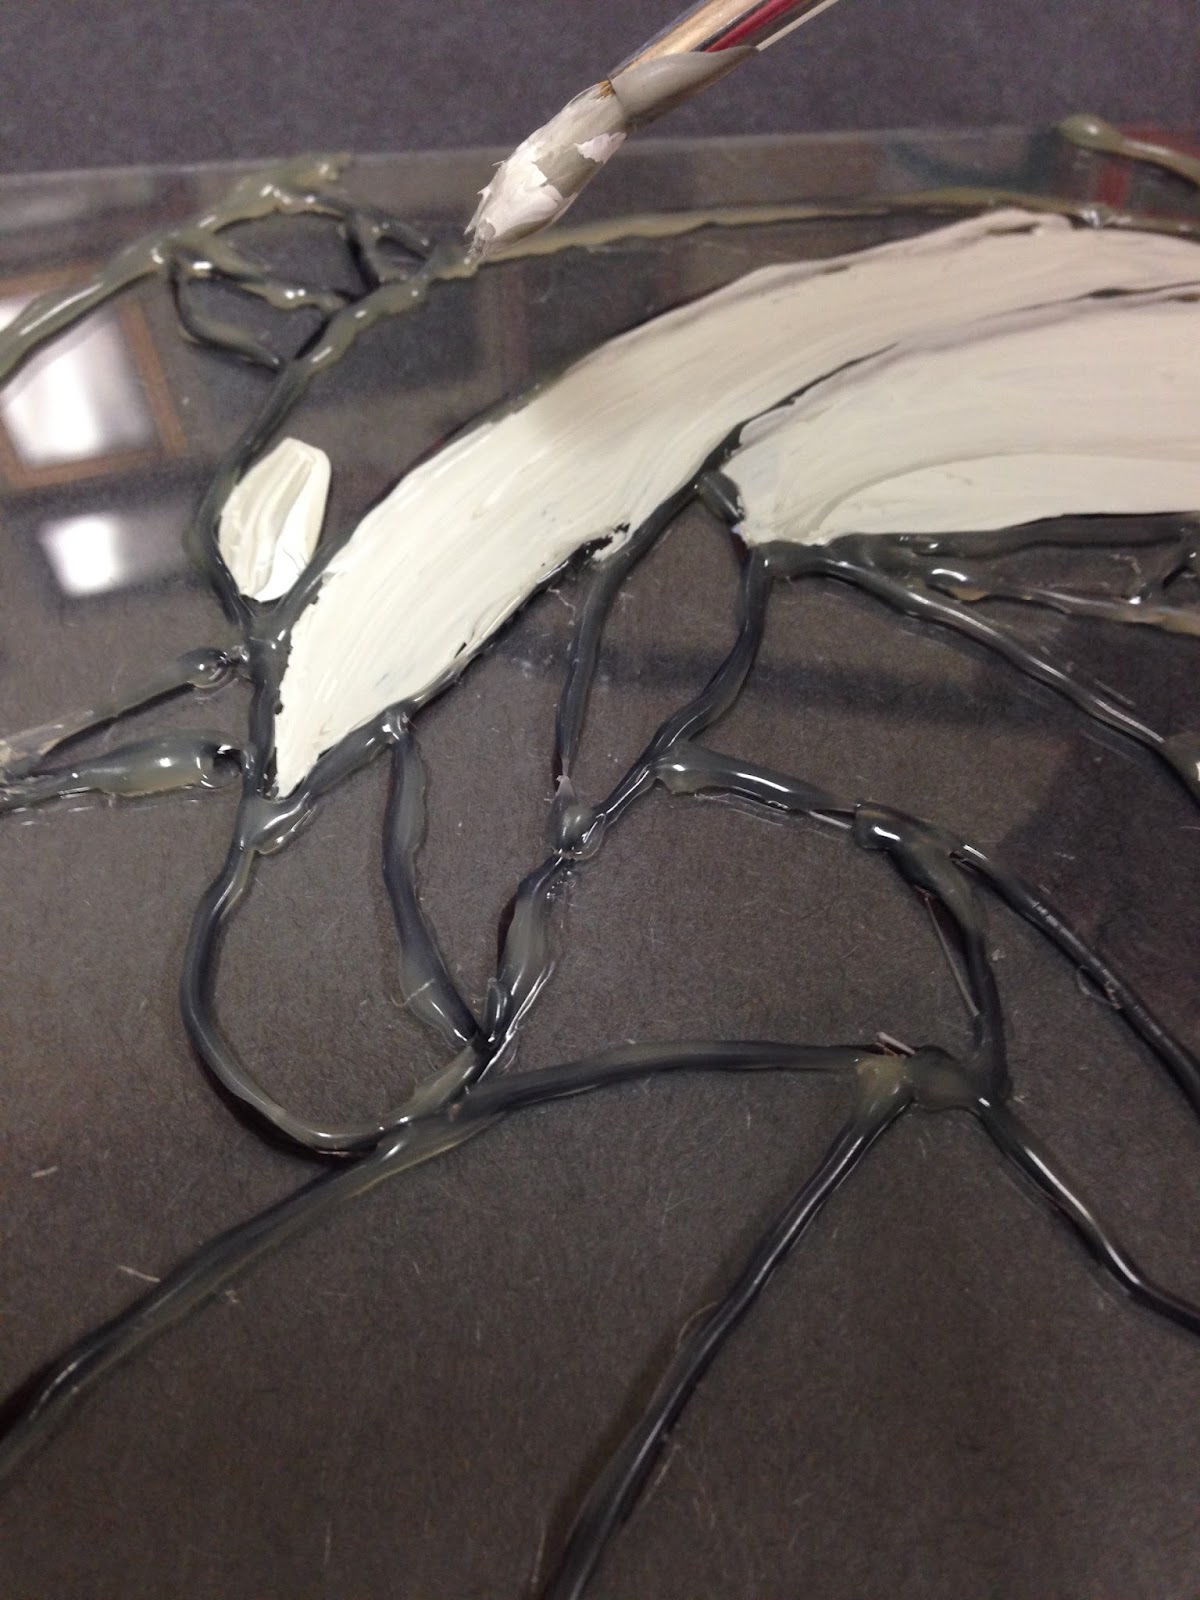 |
| Don’t worry about getting paint on the hot glue. You’ll cover it later. |
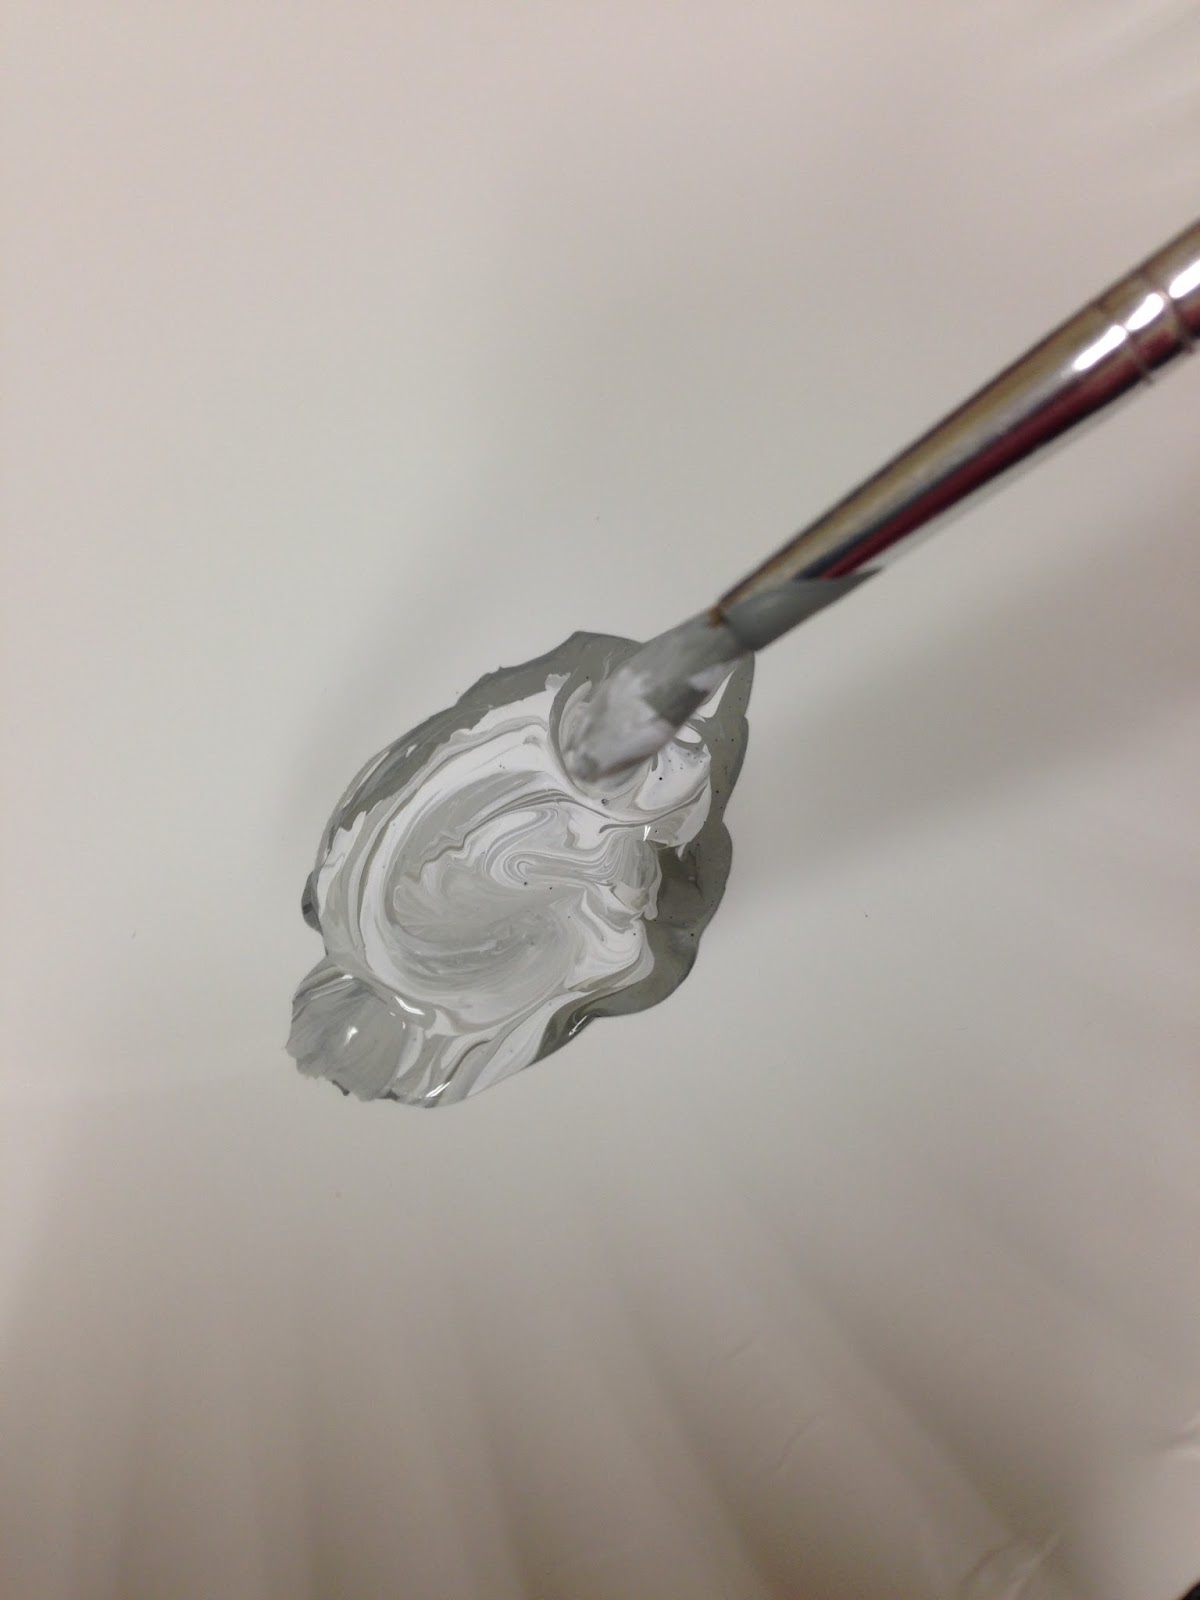 |
I put a spot of white in my paint to give
my brush strokes a marbled appearance.
|
Step Seven (7): Paint the hot glue lines.
 |
Keep a steady hand and cover the
areas painted with color.
|
Step Eight (8): Let dry and display!
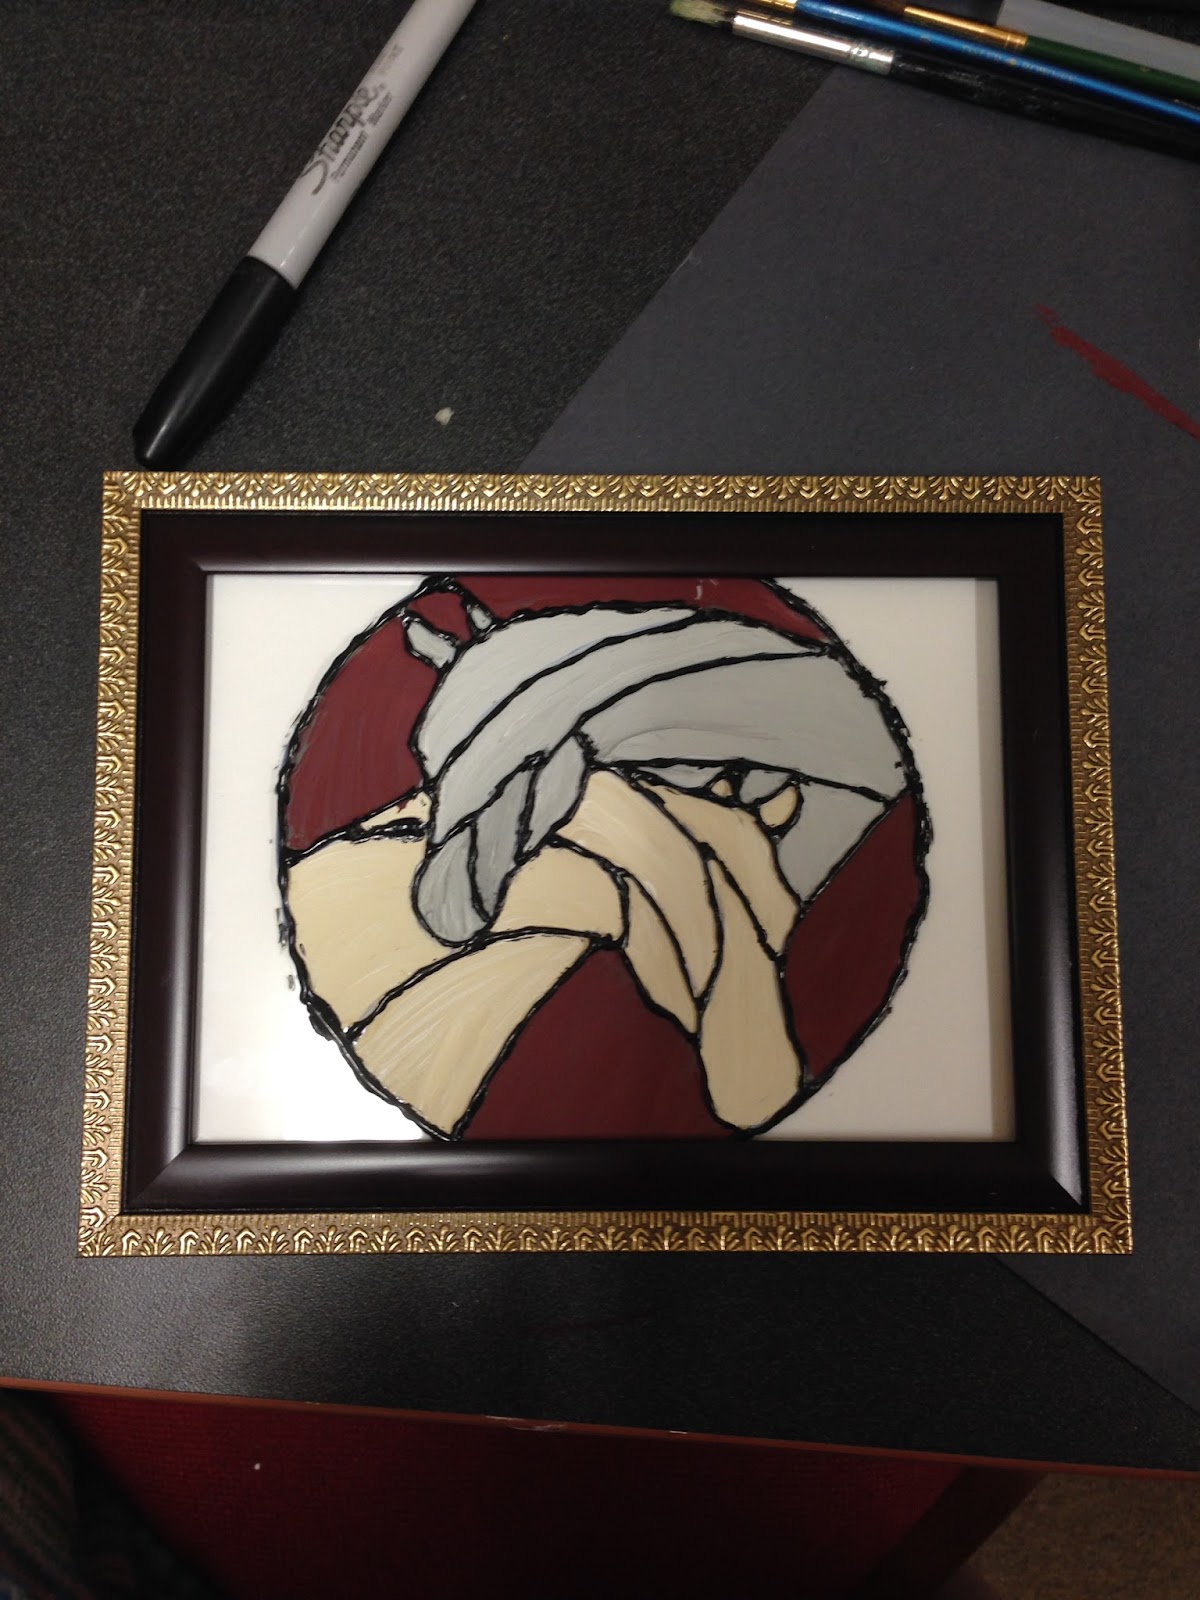 |
| I put my artwork back in the frame to hang. |
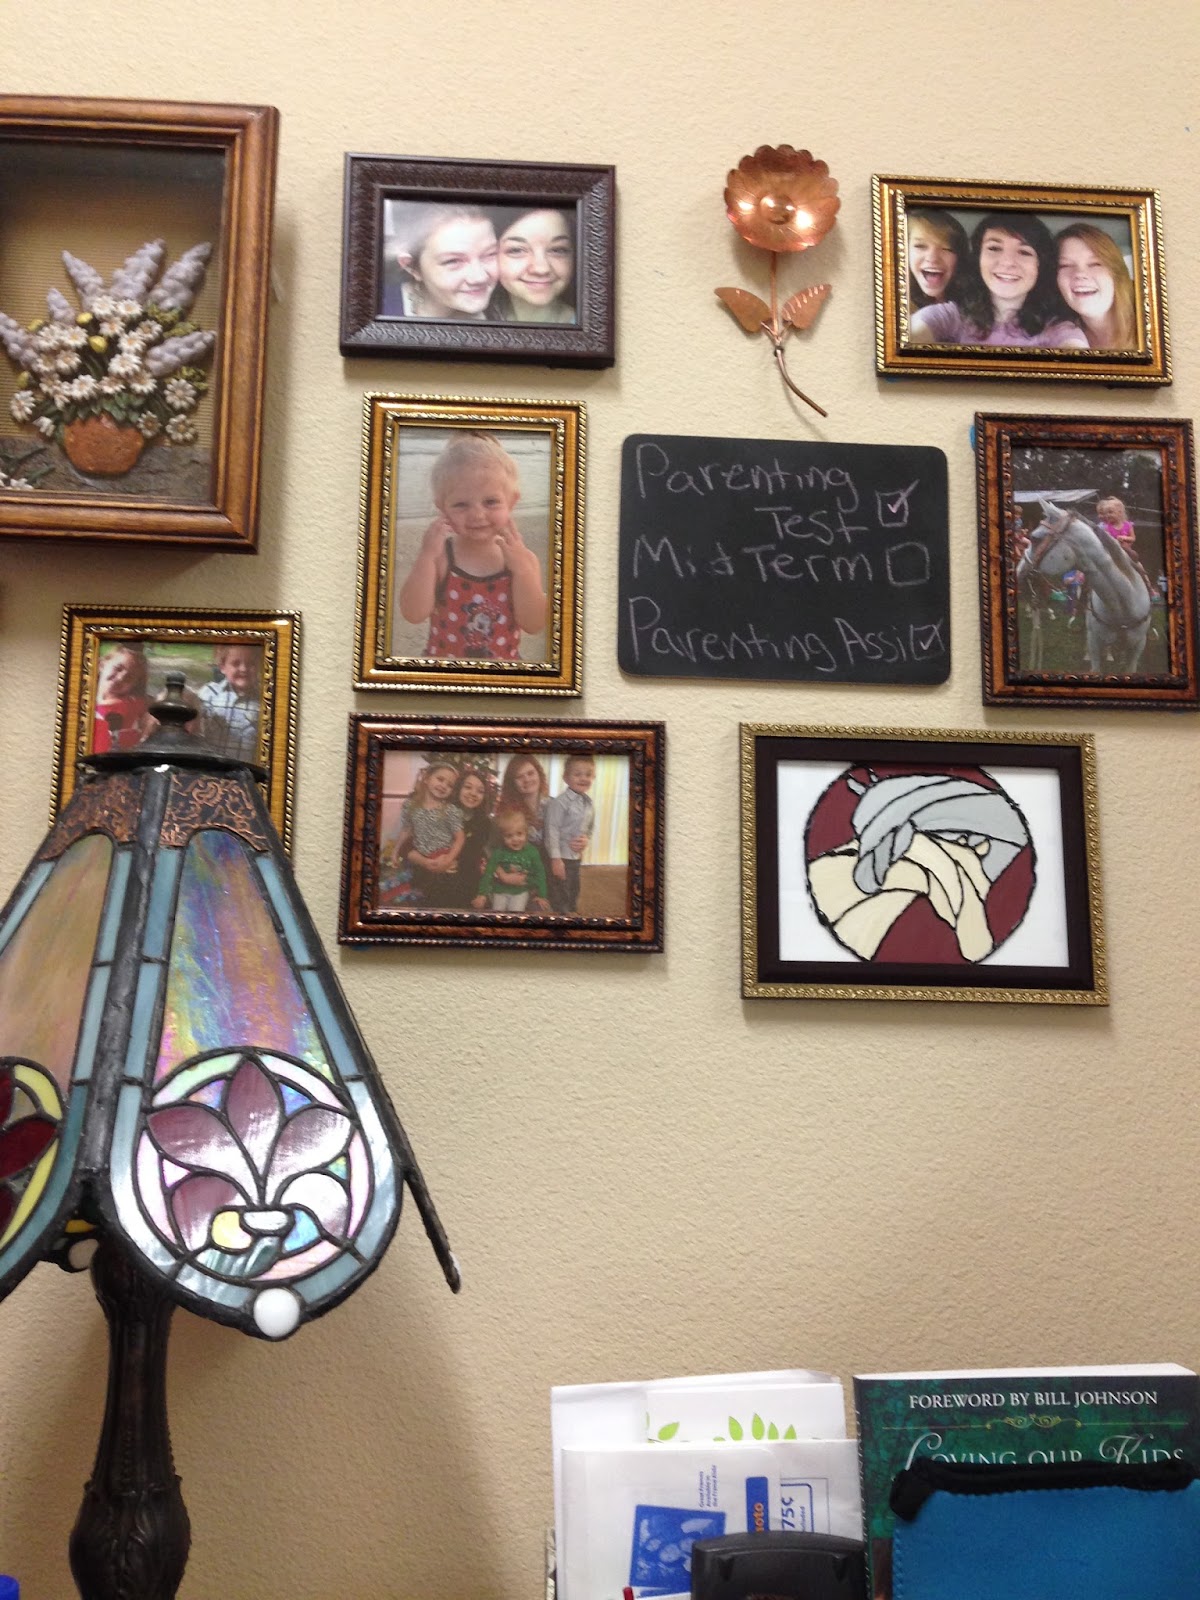 |
| Looks great in my little gallery! |
No comments:
Post a Comment